How To Sublimate Ceramic Tiles Using Laminate: The Complete Guide
Are you eager to create custom ceramic tiles with stunning, full-color designs—without expensive sublimation blanks? With the right technique, you can use standard ceramic tiles, common laminate sheets, and your sublimation printer to make eye-catching home décor, photo gifts, or art pieces that stand out. This step-by-step guide will show you exactly how to sublimate on ceramic tile using laminate, even if you’re a beginner.
Why Use Laminate For Sublimation On Tiles?
Laminate acts as a polyester-rich coating, allowing sublimation ink to bond to surfaces like basic ceramic tiles that aren’t designed for direct printing. This method is budget-friendly, opens up tons of creative options, and delivers vibrant, durable results.
Supplies You’ll Need
Before you begin, gather these essentials:
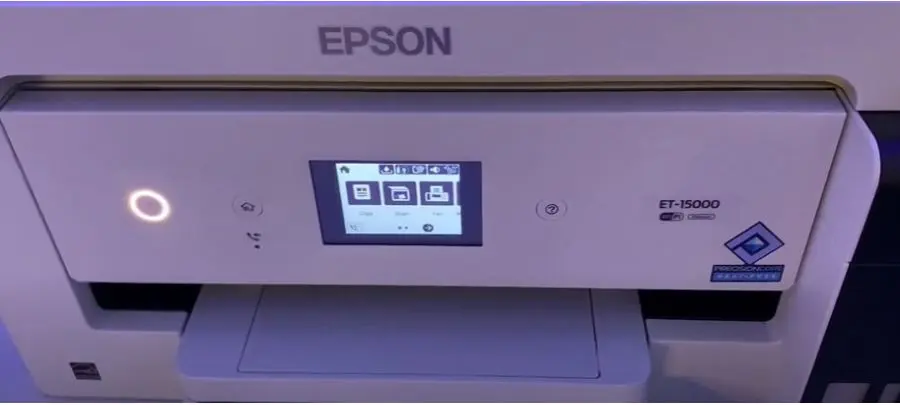
Why I Chose The Epson ET-15000 For Tile Sublimation
After years experimenting with different printers, I switched to the Epson EcoTank ET-15000 for my sublimation projects, and it’s been a game changer. The wide-format capability and reliable ink delivery have allowed me to tackle everything from coasters to large decorative tiles. If you’re looking for sharp detail, vibrant color, and cost-effective ink usage, the ET-15000 is a stellar option for hobbyists and small businesses alike.
My Personal Sublimation Process: Tiles + Laminate + ET-15000
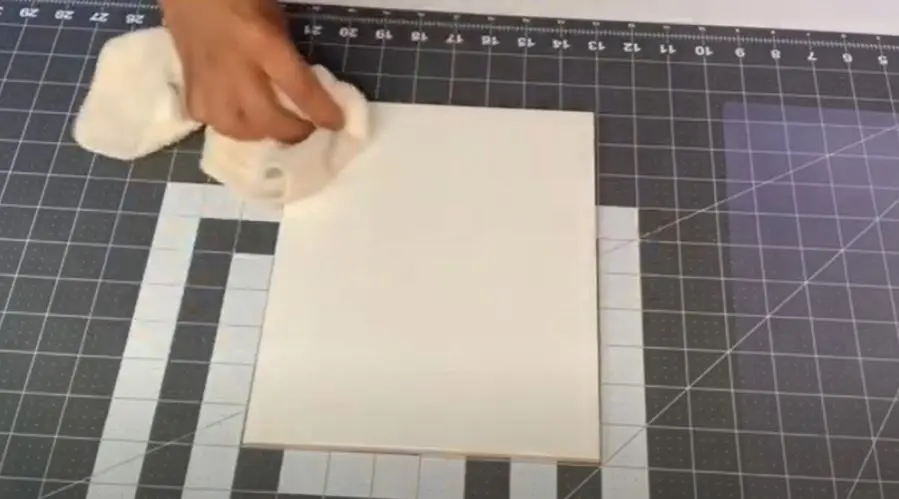
1. Prepping the Tile
I always wipe down my tiles with a lint-free cloth. Even a little dust or fingerprint can affect the final print quality. With the Epson ET-15000, the resolution is so sharp that every detail shows up—good or bad!
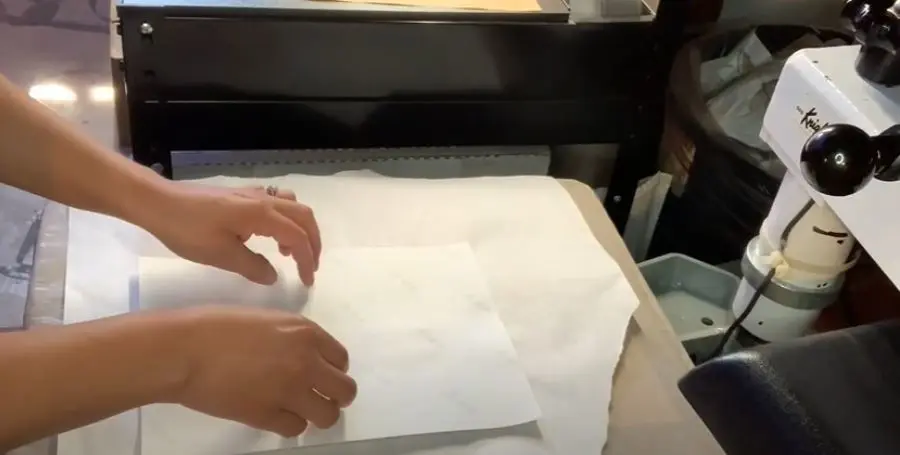
2. Laminating the Tile
I cut my laminate pouch to size and place the shiny side up on the tile. Using my heat press at 385°F for 60 seconds with firm pressure, the laminate adheres smoothly. Once cooled, I trim any excess for clean edges.
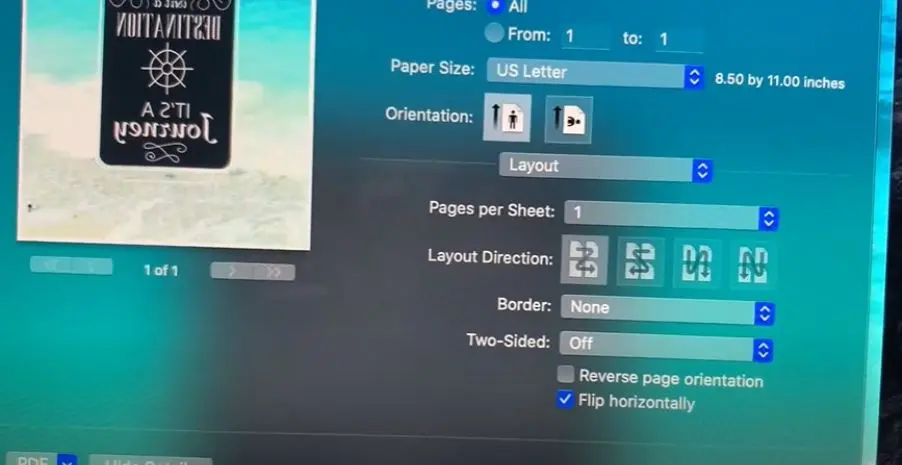
3. Printing and Positioning the Design
On the ET-15000, I mirror my image and print it onto sublimation paper. The color accuracy has been outstanding—I can confidently print bright photos, logos, or artwork. I secure the paper (image-side down) to the tile with heat-resistant tape.

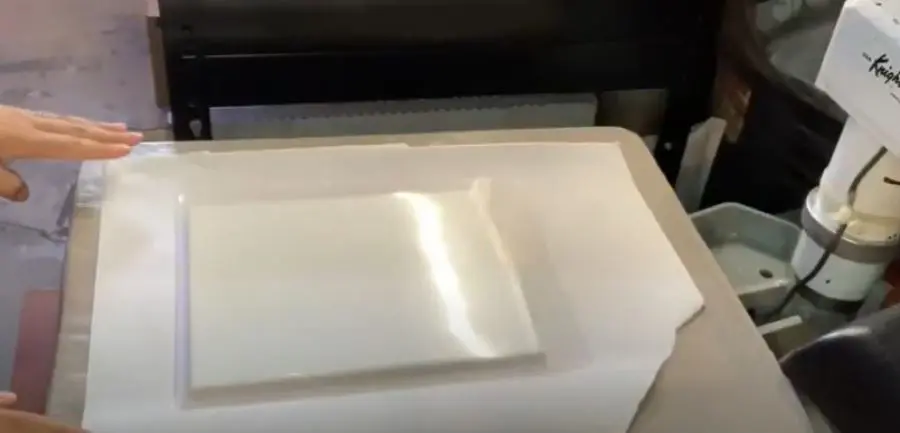
4. Pressing the Transfer
Back in the heat press at 385°F for 60–90 seconds, I always use parchment paper to avoid marks. After pressing, I carefully peel away the paper—using gloves, as the tile will be hot.
5. Revealing the Results
Every time I lift the paper, I’m amazed by the vibrancy and sharpness. The laminate acts as a perfect polyester base, allowing the sublimation ink from my Epson ET-15000 to fuse directly and permanently.

Pro Tips For Vibrant, Lasting Results
Creative Uses For Sublimated Ceramic Tiles
Tiles sublimated with laminate make unique, memorable gifts and stylish décor—no need to invest in pricey “sublimation-ready” tiles.
Why This Method Is Trending
With DIY crafting and custom décor searches at an all-time high, learning how to sublimate ceramic tiles using laminate can set your business—or your creativity—apart. This technique gives you maximum flexibility, letting you produce small batches or one-of-a-kind designs with professional quality.
Final Thoughts: Why You Should Try This Technique
Sublimating ceramic tiles with laminate opens up a world of possibilities, and with a reliable printer like the Epson ET-15000, your results will rival commercial products. The learning curve is quick, the costs are low, and the creative potential is nearly endless.
Give it a try with your own designs—you might be surprised how professional your DIY projects can look! If you have questions or want to share your creations, I’d love to hear from you.
- How To Sublimate Ceramic Tiles Using Laminate: The Complete Guide - June 25, 2025
- How Long Does Sublimation Ink Last On Shirts? (Epson, Sawgrass) - June 25, 2025
- Do You Mirror Sublimation Images? Learn How To Set In Epson Like A Pro - June 24, 2025