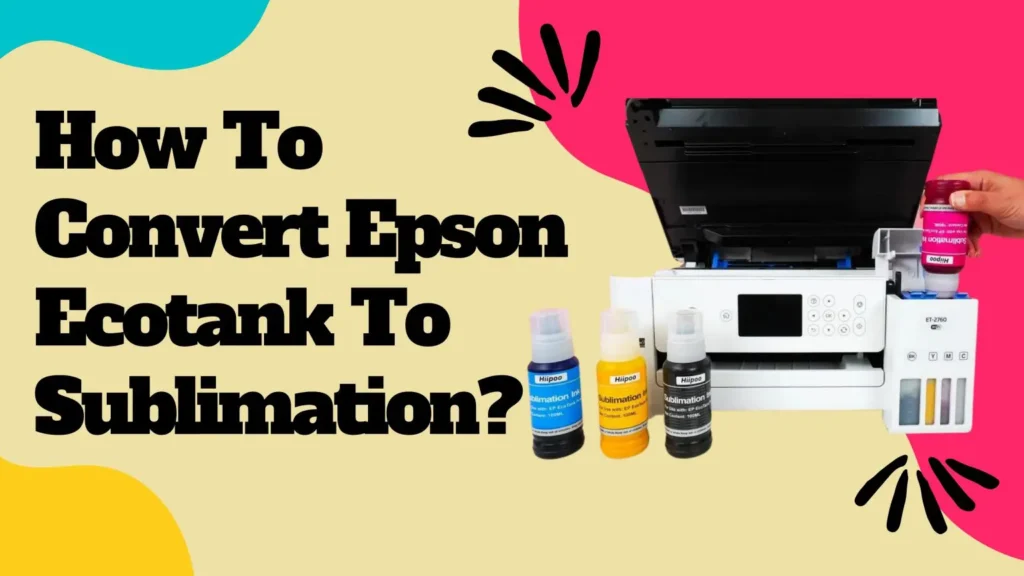
How To Convert An Epson EcoTank To Sublimation: Step-by-Step Guide
Sublimation printing is one of the most popular ways to create vibrant, permanent designs on shirts, mugs, tumblers, and countless other products. One of the best entry points for small businesses or DIY creators is the Epson EcoTank printer series. These printers are cost-effective and versatile, and with the right approach, you can easily convert a brand-new EcoTank model for sublimation. This detailed guide walks you through every step, so you can get professional results without frustration.
Why Convert an Epson EcoTank Printer for Sublimation?
Epson EcoTank printers are favored for conversion because they use refillable tanks instead of ink cartridges, making them ideal for filling with specialized sublimation ink. The conversion process is cost-effective, easy for beginners, and allows you to use a wide range of high-quality sublimation inks on the market. With your converted printer, you’ll be able to create stunning custom apparel, mugs, tumblers, coasters, and more—all with the bold, lasting colors sublimation is known for.
Important:
Always use a brand new Epson EcoTank printer for sublimation. Once regular ink has been installed, it’s nearly impossible to remove all residue, which can cause color contamination and reduce print quality.
What You’ll Need
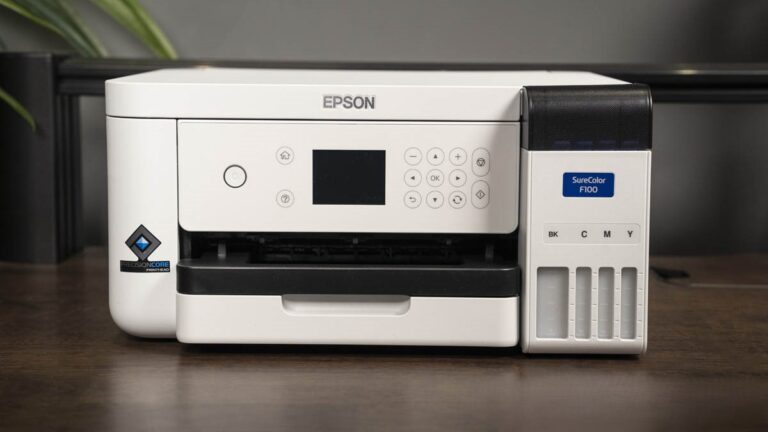
- Brand new Epson EcoTank printer (ET-2800, ET-2720, ET-15000, ET-2760, etc.)
- Full set of sublimation ink bottles (compatible with EcoTank models)
- Sublimation paper (for test prints)
- Lint-free cloths (for any spills)
- Protective gloves (recommended)
- USB cable (for printer connection, if needed)
- Computer with printer driver/software installed
Step-by-Step Table: Converting Your Epson EcoTank for Sublimation
| Step | Action | Details & Pro Tips |
|---|---|---|
| 1 | Unbox and inspect your EcoTank printer | Ensure all components are present, undamaged, unused |
| 2 | Read the manual and set up the printer | Follow Epson’s initial setup instructions |
| 3 | DO NOT add the provided Epson ink | Skip manufacturer’s ink, or set aside for non-sublimation use |
| 4 | Shake and prep sublimation ink bottles | Mix ink gently for even color; avoid bubbles |
| 5 | Fill each tank with the matching sublimation ink | Double-check colors: black to black, cyan to cyan, etc. |
| 6 | Complete printer initialization and priming | Follow the on-screen prompts for ink charging |
| 7 | Install Epson printer driver on your computer | Use the included CD or download from Epson’s site |
| 8 | Load sublimation paper in the printer tray | Print side facing the correct way (often bright white side up) |
| 9 | Print a nozzle check or test page | Look for clear, complete color blocks—no lines/gaps |
| 10 | Adjust settings or run a cleaning cycle if needed | Use the maintenance menu for best output |
| 11 | Ready to print! | Start creating with your favorite sublimation designs |
In-Depth Conversion Instructions
Step 1: Unboxing and Setup
Open your new EcoTank printer and remove all packaging. Place it on a flat, protected surface. Plug it in but do not add the included Epson ink.
Step 2: Loading Sublimation Ink
With clean hands (or gloves), gently shake each bottle of sublimation ink. Open each tank lid and carefully pour in the corresponding color, matching bottle color to tank label (Black, Cyan, Magenta, Yellow). Fill slowly to avoid spills and bubbles.
Step 3: Initializing the Printer
Power on the printer and follow Epson’s setup instructions until prompted to charge/prime the ink. Let the machine run its cycle—it may take several minutes. This process pulls ink into the printhead and prepares the printer for use.
Step 4: Software Installation
Install the Epson drivers and utility software from the included CD or Epson’s official website. Connect the printer to your computer via USB or Wi-Fi as instructed.
Step 5: Print a Test Page
Load sublimation paper (bright side up, if double-sided) into the tray. Print a nozzle check or alignment page. Inspect the output: you should see crisp color bars for each ink, with no gaps. If you see missing lines, run the printhead cleaning cycle from the maintenance menu and reprint until colors are perfect.
Step 6: Begin Sublimation Projects
Your printer is now ready for sublimation transfers! Print mirrored designs onto sublimation paper and use your heat press to transfer them to polyester fabrics or coated blanks.
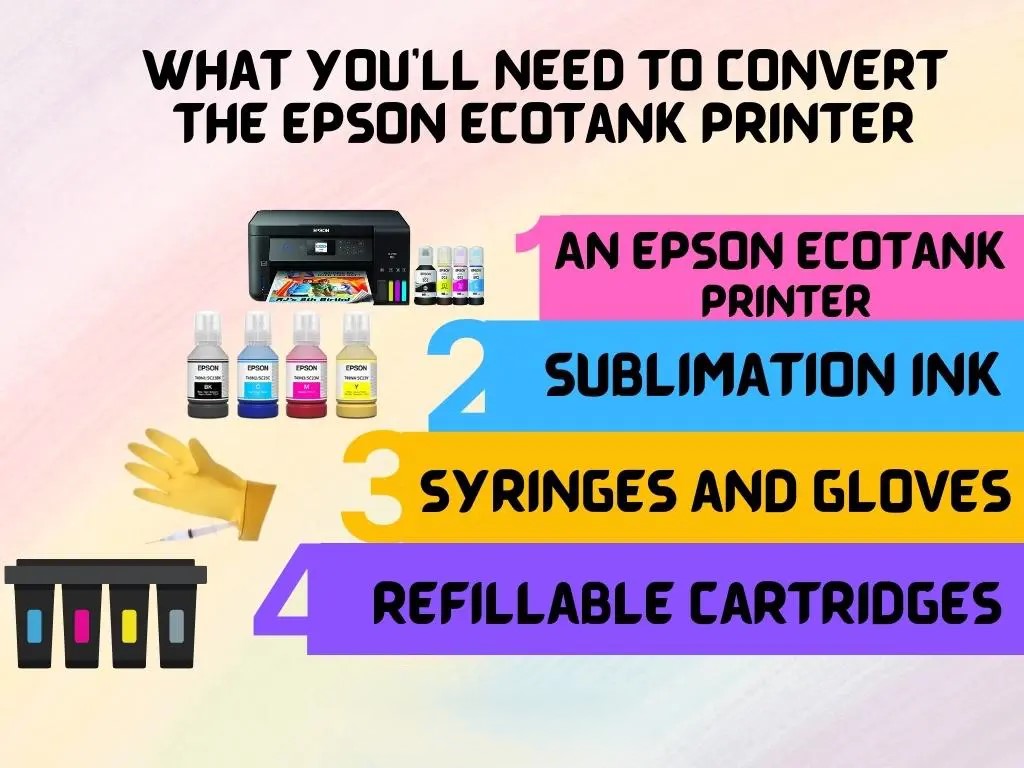
Diagram Description: Epson EcoTank Conversion Setup
Visualize:
A new EcoTank sits on a table, lids open, with each color tank ready to receive ink. Four bottles of sublimation ink are lined up, each matching the corresponding tank. The setup area is covered to prevent stains. Sublimation paper is loaded in the tray, and a computer nearby displays the printer’s setup menu.
Troubleshooting: Common Conversion Issues
- Color Looks Wrong?
Double-check you filled each tank with the correct color. Mixing up magenta and cyan is a common beginner error. - Nozzle Check Missing Lines?
Run a printhead cleaning cycle. Repeat until you get clean, full bars for every color. - Prints Appear Faded on Fabric?
Make sure you’re printing on high-polyester blanks, and that you’ve mirrored your design before pressing. - Ink Won’t Flow?
Ensure tanks are filled above the minimum line and try a second priming cycle.
FAQs: Epson EcoTank Sublimation Conversion
Conclusion: Unlock Creative Freedom With Your Converted EcoTank
Converting an Epson EcoTank to sublimation is one of the smartest, most budget-friendly ways to break into high-quality custom printing. By following these clear, step-by-step instructions, you ensure vivid, professional results every time—ready for shirts, mugs, gifts, and more. As with any creative venture, take your time on setup, always use compatible blanks, and don’t hesitate to consult your ink supplier for color settings and troubleshooting.