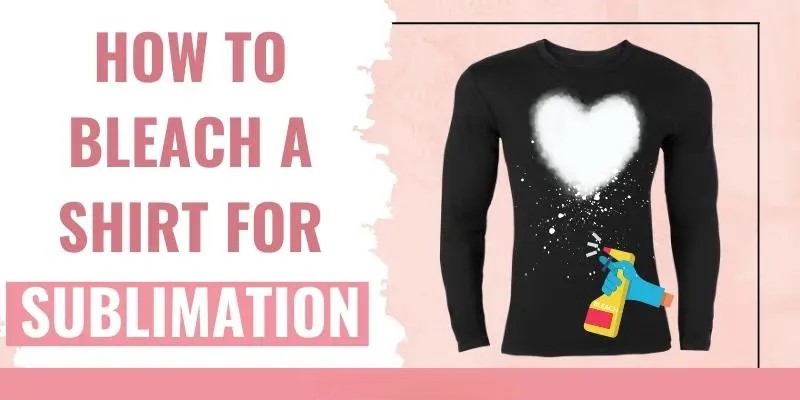
How To Bleach A Shirt For Sublimation Without Sun: Achieve Bold Designs
Creating a striking bleached T-shirt as the foundation for sublimation printing is a top trend in custom apparel. But unpredictable weather, busy schedules, or the need for precision mean you can’t always rely on a sunny day. The good news? You can bleach shirts indoors—no sunshine required—and still achieve crisp, professional results every time. Whether you’re a hobbyist or building a small business, learning to control this process indoors is a skill that sets you apart.
The Creative Power of Bleach in Sublimation Printing
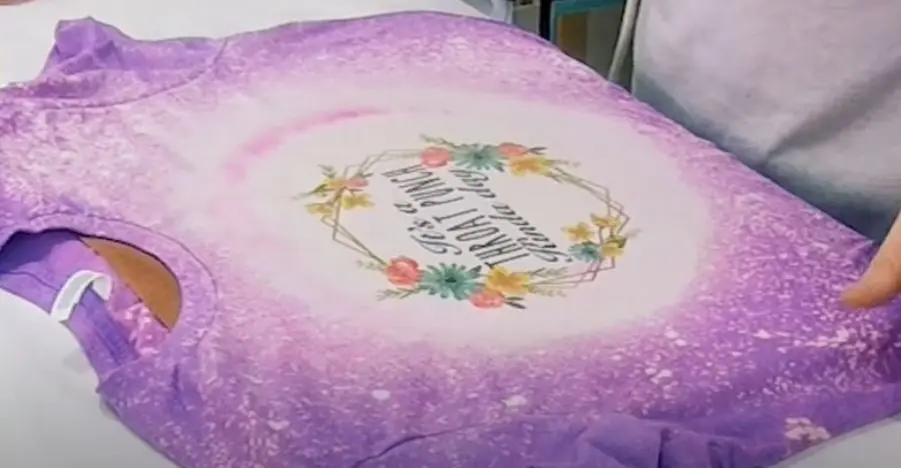
Bleach isn’t just for laundry—it’s a powerful design tool! Spot-bleaching a colored polyester blend T-shirt gives you a bright, white base for sublimation designs that would otherwise disappear into the fabric. The resulting contrast—vivid color on a white patch, surrounded by the shirt’s original shade—adds visual excitement and a trendy, vintage vibe.
Bleaching is most effective on shirts with at least 65% polyester. Lower poly content can still work, but the results won’t be as bold or long-lasting. Classic crew necks, raglans, and heathered blends are perfect for these techniques, which is why this look is so popular on Etsy and among crafters.
Essential Supplies for Bleaching Indoors
Before you begin, assemble the right tools for a safe, effective, and creative project:
- Polyester or high-poly blend shirt (the higher the polyester, the brighter the transfer)
- Household bleach (unscented for less odor)
- Spray bottle (fine mist nozzle recommended)
- Heat gun (or a powerful hair dryer as a backup)
- Plastic board or sheet (to separate shirt layers)
- Tape or adhesive stencil (for sharp lines or patterns)
- Gloves, apron, and eye protection
- Old towel or table cover (protects your work area)
- Lint roller (for removing dust before pressing)
- Sink, basin, or bucket for rinsing
- Mild detergent (removes bleach residue)
- Good ventilation or a fan (crucial for safety)
Why Skip the Sun? Advantages of Indoor Bleaching
While sunlight activates bleach quickly, relying on the weather means inconsistent results. Indoors, you control every variable—heat, timing, pattern, and even the final shade. Using a heat gun or hair dryer to “set” the bleach is more predictable, and you can work day or night, rain or shine.
For small businesses, sun-free bleaching means you can fulfill orders year-round. For crafters, it’s peace of mind and creative flexibility.
Step-by-Step Indoor Bleaching Table
| Step | What to Do | Pro Tip |
|---|---|---|
| 1 | Prep the area & shirt | Work near an open window or with a fan; use gloves. |
| 2 | Insert a barrier | Slide a plastic board or cutting mat into the shirt. |
| 3 | Tape off the bleach area | Mask with painter’s tape or stencil for crisp shapes. |
| 4 | Mix bleach and water | Fill spray bottle with 50/50 bleach and water. |
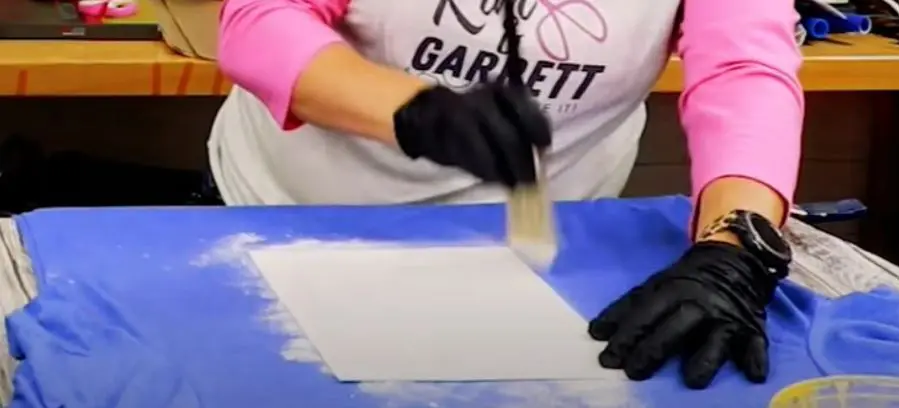
| 5 | Apply the bleach solution | Spray or dab lightly on marked zones—avoid soaking. |
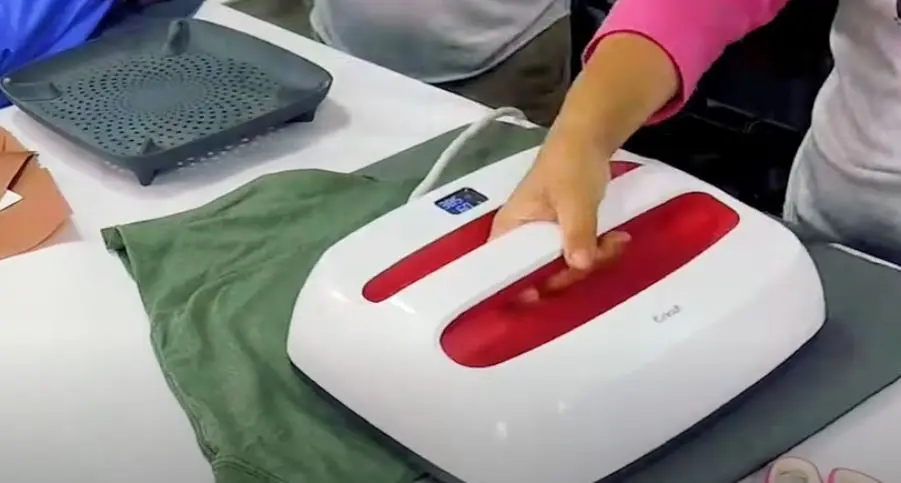
| 6 | Use heat gun/hair dryer | Hover 6–8″ above, moving in slow circles. |
| 7 | Watch for color change | Color will lift within 1–5 minutes—don’t over-bleach. |
| 8 | Rinse and wash the shirt | Cold water stops the reaction; wash solo with detergent. |
| 9 | Dry completely | Air-dry or tumble dry before sublimation. |
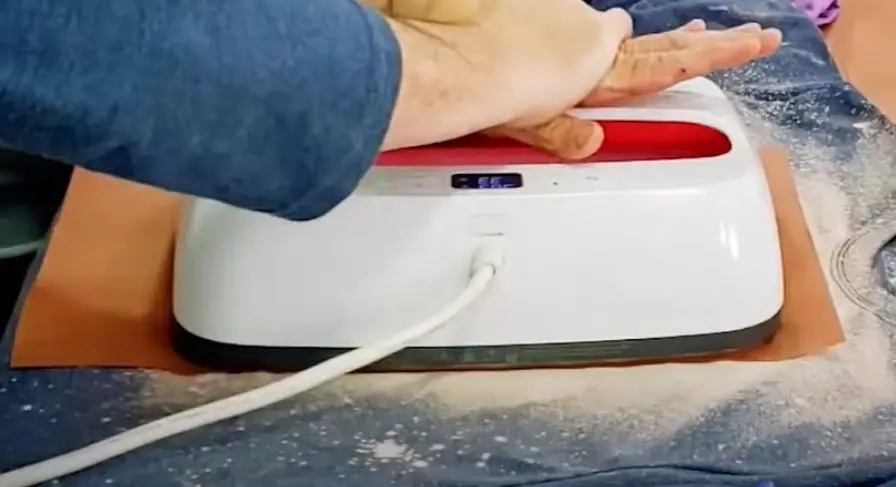
| 10 | Sublimate your design | Proceed with heat pressing your chosen print. |
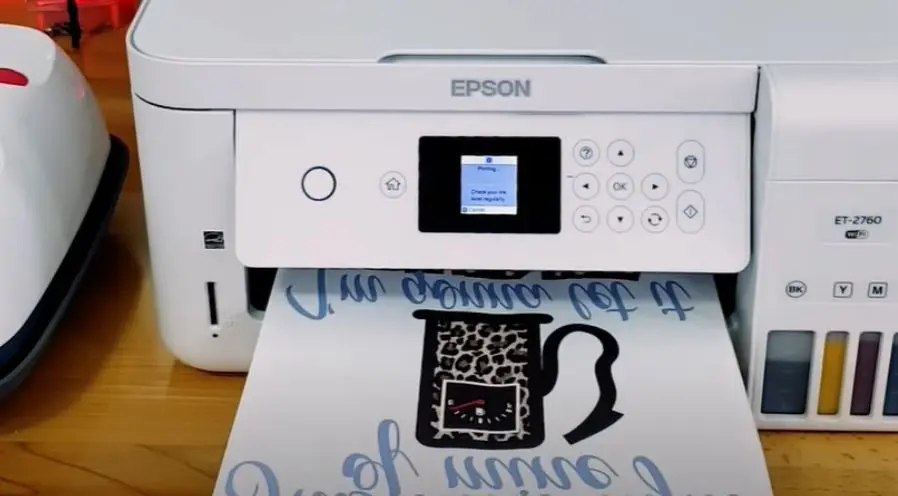
Diagram Description: Visualizing the Indoor Setup
Picture your workspace as a safe, organized zone. Place your shirt flat on a table protected by an old towel. Inside the shirt is a plastic cutting board that blocks bleach from bleeding onto the back. Tape marks the shape—maybe a rectangle or fun silhouette. With gloves on, you mist the bleach solution over the stencil. The heat gun hovers several inches above, activating the bleach so the area lightens within minutes. A window is cracked open for fresh air. Tools like the spray bottle, lint roller, and detergent are laid out within reach.
Masking and Customizing: Creative Pattern Ideas
Don’t limit yourself to rectangles! Use adhesive vinyl, freezer paper, or even cut paper stencils to create hearts, lightning bolts, animal prints, or custom names. Freehand splatters and ombré effects add organic flair. Masking tape is great for stripes, chevrons, or geometric shapes. With indoor bleaching, you have time to perfect placement—unlike racing against the sun.
Troubleshooting Common Issues
Bleach Spreads Too Far:
Too much solution or a soaking-wet shirt can cause the bleach to “bleed.” Always spray lightly and let the fabric air for 10–20 seconds before applying heat.
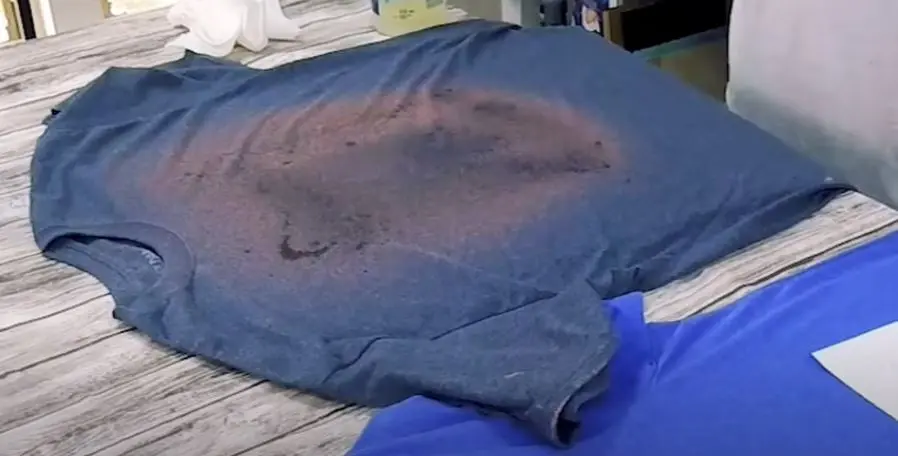
Uneven Color Lifting:
Make sure your heat gun moves steadily. If one spot stays still too long, you may get yellow or burnt areas.
Weak Sublimation Results:
If the white area looks off-white or dingy, try a shirt with higher polyester or leave the bleach on a few seconds longer before rinsing.
Lingering Bleach Smell:
A thorough cold-water rinse, followed by washing with mild detergent, eliminates most odors. Add a splash of white vinegar to the rinse for extra neutralizing.
Pro Tips for Vibrant, Lasting Results
- Test First: Try your method on a scrap piece or the inside hem before tackling your project shirt.
- Ventilation: Bleach fumes can be intense; use a fan or wear a simple face mask if needed.
- Resist Over-bleaching: Too much time or heat can damage fibers, leading to holes or rough texture.
- Quick Cleanup: Keep an old towel handy to mop up any splashes immediately.
- Rinse ASAP: Once you reach the desired whiteness, rinse the area thoroughly to halt the chemical process.
Advanced Indoor Bleaching Techniques
Want to take it further? Layer stencils for multi-shape designs. Try flicking a toothbrush with bleach for a splatter effect, or fold and scrunch the shirt for tie-dye-inspired patterns. For ultra-crisp edges, iron your stencil down (low heat, if using freezer paper) before spraying.
Experiment with negative space—mask off your design, bleach the background, then remove the stencil for dramatic contrast.
If you’re producing shirts in volume, line up several and use assembly-line steps: prep all, then bleach all, then heat, rinse, and so on.
Safety First: Bleach Precautions
Never mix bleach with ammonia or any cleaner besides water—dangerous fumes can result. Always label your spray bottle and keep bleach stored out of children’s reach. Dispose of leftover bleach solution according to local guidelines.
Frequently Asked Questions (FAQs)
Can I use this method on 100% cotton shirts?
Bleaching works on cotton, but sublimation ink will not show up well. For vivid prints, always choose at least a 65% polyester shirt.
What if I don’t have a heat gun?
A powerful hair dryer will work, but expect a slightly longer process. Avoid using an iron directly on bleach.
How do I keep the back of my shirt from bleaching?
The plastic board or thick cardboard inside the shirt is key—don’t skip this step.
Is it safe to sublimate after bleaching?
Absolutely—once the shirt is washed, dried, and completely free of bleach, you can safely heat press your sublimation design.
Will this method work on dark shirts?
You’ll see the best contrast on mid-tone and pastel colors. Bleach doesn’t always turn black shirts bright white, but creates a cool orange or tan area—great for grunge or vintage looks.
Conclusion: Consistent Creativity, Rain or Shine
Bleaching shirts for sublimation doesn’t need to rely on unpredictable weather. With a few household supplies and the right technique, you can achieve professional-grade bleached canvases indoors, any time you want. This opens the door to year-round creativity, batch production, and next-level custom apparel that stands out in any crowd.
So go ahead—set up your indoor bleaching station, gather your favorite shirts, and unleash your imagination. Try geometric patterns, bold shapes, or delicate ombrés. Each project is a chance to develop your style, wow your friends, or build a brand that turns heads.