How To Achieve Vivid Sublimation Prints on Shirts, Mugs, and Tumblers
Sublimation is celebrated for its ability to produce bold, lively colors, but achieving those brilliant results isn’t automatic. Many new crafters are surprised when their first sublimation projects look faded or lack the intensity seen in professional work. The key to mastering vivid sublimation is understanding and optimizing every stage of the process—from your digital file to the final heat press. This guide gives you the essential strategies and troubleshooting tips to help every project shine.

Understanding Why Sublimation Prints Can Look Dull
If you’ve noticed your transfers appear lackluster, don’t panic—this is a common experience for newcomers. Sublimation ink appears dull when first printed onto transfer paper; this is normal because the magic happens after heat pressing. If your finished shirt, mug, or tumbler still looks faded, it’s time to review several critical factors that impact color vibrancy.
The Fundamentals of Vibrant Sublimation
Bright, eye-catching sublimation prints depend on the right combination of materials, equipment, and techniques. Here’s how to ensure every project turns out bold and beautiful:
Choose the Right Blanks
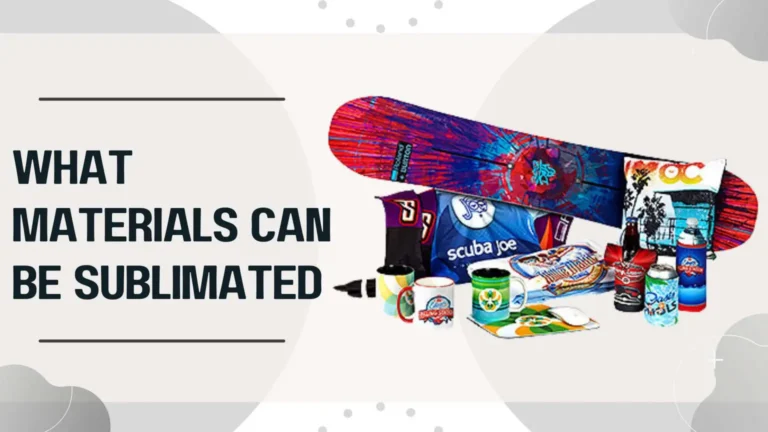
- Polyester is Essential: For textiles, opt for garments with a high polyester content (at least 65%, but 100% is best). Sublimation dye bonds with polyester molecules, resulting in rich, lasting color.
- Poly-Coated Hard Goods: Mugs and tumblers must have a polymer coating designed for sublimation. Ordinary ceramics or stainless steel won’t bond with the ink and will always look faded.
Invest in Quality Ink and Paper
- Use Premium Sublimation Ink: High-quality ink formulated for your printer delivers more consistent, saturated colors.
- Select the Best Sublimation Paper: Not all papers are created equal. Stick with brands known for vivid color release and always print on the correct side (usually the brighter side).

Master Color Management
- Utilize ICC Profiles: The color you see on your monitor may not match what your printer produces unless you use an ICC profile tailored to your printer, ink, and paper. This profile ensures color accuracy and reduces surprises after pressing.
- Design in the Right Color Mode: Start your artwork in RGB, but let your print software convert to CMYK using the ICC profile for best results.
Fine-Tune Your Printer Settings
- Set High DPI: Choose the highest print quality and resolution (at least 300 DPI) in your print settings for sharp, detailed images.
- Regular Maintenance: Run nozzle checks and printhead cleanings as needed. Clogged heads can lead to dull, streaky prints.
The Science of Heat Pressing: Time, Temperature, and Pressure
One of the most overlooked steps in achieving vivid color is the actual pressing process. Every substrate and ink combination may have unique requirements, but here are the golden rules:
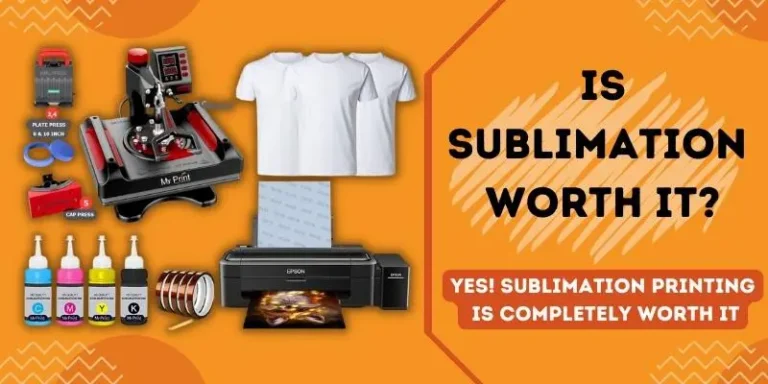
- Time and Temperature: For most polyester shirts, press at 385°F (195°C) for about 60 seconds. For mugs or tumblers, the range is usually 350–400°F (175–200°C) for 150–200 seconds.
- Pressure: Firm, even pressure ensures dye fully penetrates the substrate. Too little pressure causes faded results; too much can scorch the material.
- Pre-Pressing: For apparel, a quick pre-press removes moisture and wrinkles, which can affect dye transfer.

Table: Troubleshooting Faded Sublimation Prints
| Issue | Likely Cause | Solution |
|---|---|---|
| Colors faded after press | Low polyester, wrong paper, bad ink, or incorrect press settings | Use higher poly blanks, quality paper, adjust settings |
| Prints look dull on paper | Normal—ink appears muted before pressing | Always evaluate color after heat pressing |
| Image has streaks | Printhead clog or low ink | Run cleaning cycles, check ink levels |
| Patchy or uneven color | Uneven pressure or substrate coating issue | Level press, inspect blank before printing |
| Color mismatches | Missing/wrong ICC profile | Install correct ICC profile for your ink/printer |
Frequently Asked Questions (FAQs)
Pro Tips for Next-Level Color
- Test Every New Batch: Whenever you switch blanks, paper, or ink, print a small test to dial in settings before starting a full run.
- Control Your Environment: Humidity and dust can affect sublimation outcomes. Store materials in a cool, dry place.
- Stay Consistent: Document your settings and successful processes. Repeatability is the secret to consistent results.
Conclusion: Your Blueprint for Brighter Sublimation
Vivid, professional-quality sublimation isn’t luck—it’s a result of intentional choices at every step. From choosing high-polyester shirts and poly-coated mugs to managing color profiles and heat press settings, every detail matters. Once you dial in your process, you’ll produce brilliant, durable prints that impress customers and stand the test of time.


